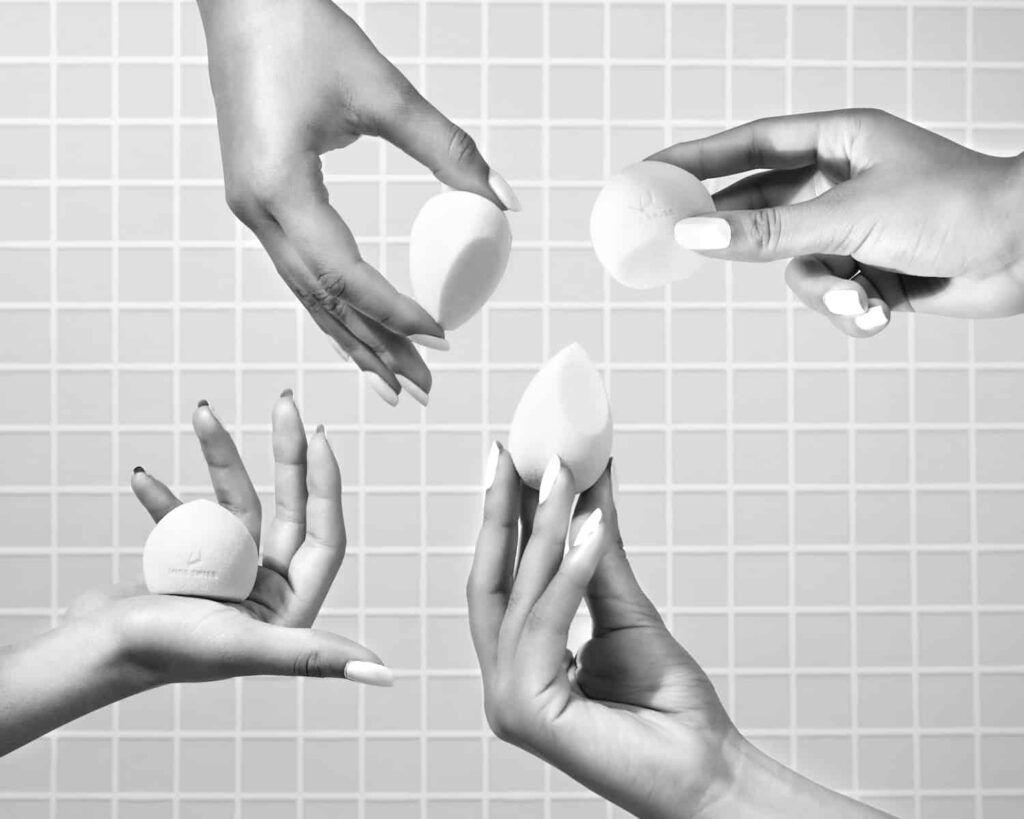
Keeping your makeup tools clean is essential for maintaining healthy and beautiful skin. One of the most important tools in your makeup kit is your makeup blender. Not only does it help you achieve a flawless finish, but it can also harbor bacteria if not cleaned properly. In this article, we’ll share some detailed tips on how to effectively clean your makeup blender, so you can keep your skin looking its best.
The Traditional Way:
Step 1: Rinse
The first step in cleaning your makeup blender is to rinse it under warm water. Use your fingers to gently squeeze and massage the blender, allowing the water to penetrate the material and loosen any trapped makeup. Be sure to use warm water, as hot water can damage the material.
Step 2: Cleanse
Once your blender is rinsed, apply a small amount of liquid soap or use a dedicated makeup blender cleanser. Gently massage the blender with your fingers, paying extra attention to areas that have absorbed a lot of product. Work the soap into a lather, and continue massaging until you see the makeup being lifted from the blender.
Step 3: Rinse Again
Rinse your makeup blender thoroughly under running water, continuing to massage and squeeze until the water runs clear. Make sure to get all of the soap out to prevent any residue from building up on your blender.
Step 4: Repeat
If necessary, repeat the cleansing process until the water runs clear and the blender is completely clean. This is especially important if you haven’t cleaned your blender in a while or if you’ve been using heavy makeup products.
Step 5: Squeeze
Once your blender is clean, gently squeeze out any excess water. Be gentle when squeezing, as rough squeezing can damage the blender’s shape.
Step 6: Dry
Leave your makeup blender to air-dry in a well-ventilated area. Do not use a towel or cloth to dry it, as this can transfer bacteria onto the blender. Make sure it’s completely dry before using it again.
Step 7: Deep Clean
The Microwave Way (Not Recommended):
While microwaving your beauty blender can be a quick and easy way to clean it, we do not recommend it as it can damage the blender and compromise its effectiveness. Microwaving can cause the blender to melt or deform, making it unusable. Additionally, microwaving your beauty blender can create a breeding ground for bacteria, which can cause skin irritation and breakouts.
To clean your beauty blender effectively, it’s best to stick to the traditional method of cleaning it by hand. Rinse it under warm water, apply a small amount of liquid soap or use a dedicated makeup blender cleanser, and gently massage it with your fingers. Rinse it thoroughly and air-dry it in a well-ventilated area.
If you’re short on time and looking for a quick solution, you can try using a solid cleanser or a cleaning spray designed for makeup blenders. These products can be applied directly to the blender and do not require water or rinsing, making them a convenient option for on-the-go cleaning.
Once a week, deep clean your beauty blender by soaking it in a mixture of warm water and gentle soap for a few hours. Rinse thoroughly and air dry. This step is especially important for removing any buildup of bacteria or makeup residue.
In addition to these steps, there are a few other tips you can follow to keep your makeup blender in top condition:
- Store your blender in a clean, dry place when not in use.
- Replace your blender every few months, especially if you use it regularly.
- Avoid using harsh soaps or cleaners, as these can damage the material.
- Be gentle when using your blender, as rough handling can cause it to tear or lose its shape.
Conclusion:
By following these detailed tips and best practices, you can keep your makeup blender clean, hygienic, and in top condition for all your beauty needs. Not only will your makeup go on more smoothly, but you’ll also avoid any potential skin irritations or breakouts.


Comments are closed.